How to Engrave Glass with Wizmaker?
Engraving glass can add a touch of elegance and personalization to various items, from glassware to decorative pieces. With the advanced technology of the Wizmaker laser engraver, achieving intricate and precise glass engravings has become more accessible than ever. In this guide, we'll walk you through the steps to successfully engrave glass using the Wizmaker laser engraver.
Step 1: Gather Your Materials
Before you begin, ensure you have all the necessary materials ready:
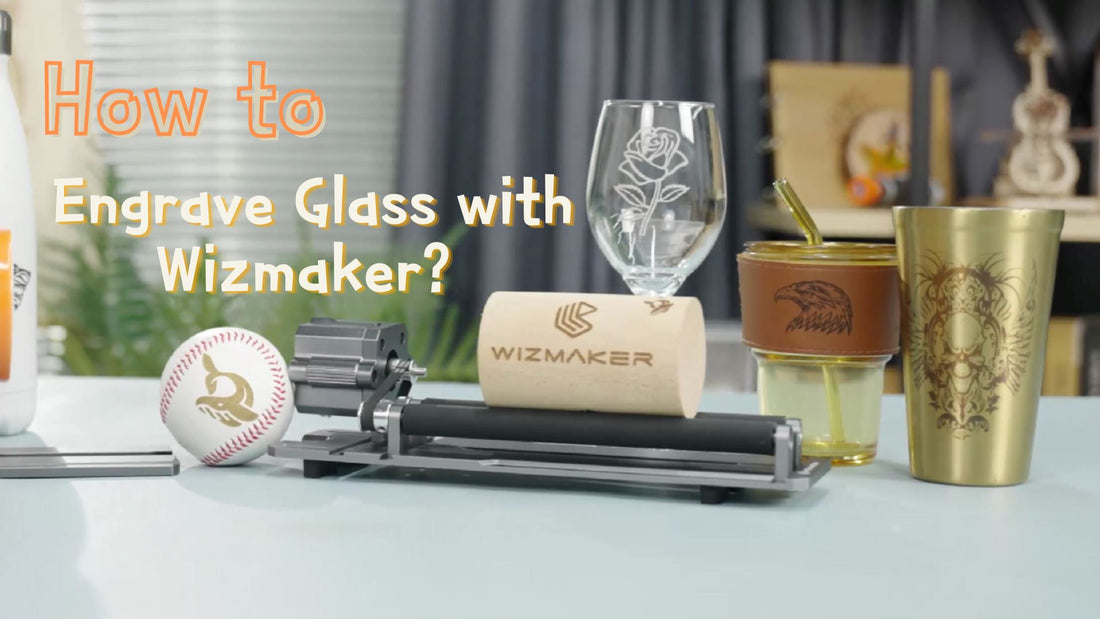
Wizmaker laser engraver(12W/20W/24W/36W)
Whether Wizmaker is 12W or 20W, 36W can engrave glass. The higher the power, the faster you can complete a work. But the greater the power, the larger the laser engraving spot, which is relatively not as fine as the laser engraving machine with low power
Glass object to engrave (e.g., glassware, mirrors, glass frames)
PS: If you need to engrave a cylinder, you will also need to use a rotary roller for rotary engraving
PS: If you need to engrave a cylinder, you will also need to use a rotary roller for rotary engraving
Lightburn/LaserGrbl
Protective eyewear
Protective eyewear
Cleaning supplies (isopropyl alcohol, microfiber cloth)
Laser marking paper/Black Spray Paint(Transfer Medium)
Step 2: Design Your Engraving
Connect the Wizmaker laser engraver to your computer and open Lightburn/LaserGrbl
Create or import the design you want to engrave on the glass. Ensure that the dimensions of the design match the size of the glass object.
Create or import the design you want to engrave on the glass. Ensure that the dimensions of the design match the size of the glass object.
Adjust the design settings, such as size, position, and orientation, to achieve the desired look.
Step 3: Prepare the Glass
Thoroughly clean the glass surface using isopropyl alcohol and a microfiber cloth. This step ensures a clean surface for optimal engraving results.
Then, painting the glass, make sure the paint can be applied evenly to the glass(wait for dry)
Finally, place the glass object securely within the engraving area of the Wizmaker.
Step 4: Configure the Engraving Settings
In the design software, access the engraving settings. These settings will vary based on the material and the desired engraving depth.
Adjust the laser power and speed settings. For glass, a lower laser power is recommended to avoid excessive heat that could damage the glass.
Perform a test run on a scrap piece of glass to fine-tune the settings before engraving on the actual object.

Step 5: Engrave the Glass
Double-check all settings and ensure safety measures are in place, including wearing protective eyewear.
Start the engraving process through the Lightburn/LaserGrbl. The Wizmaker laser engraver will begin etching the design onto the glass.
Monitor the engraving process to ensure everything is proceeding as expected.
Step 6: Finishing Touches
Once the engraving is complete, carefully remove the glass object from the engraver.
Clean the glass again with isopropyl alcohol to remove any residue or debris from the engraving process.
Admire your beautifully engraved glass piece!
Step 7: Safety Precautions
Always wear appropriate protective gear, including eyewear, when operating the laser engraver.
Work in a well-ventilated area or use exhaust systems if available, as engraving certain materials can produce fumes.
With the Wizmaker laser engraver, transforming ordinary glass items into personalized, artistic pieces is within your reach. By following these steps and practicing caution, you can achieve stunning glass engravings that impress and delight.
Remember, practice makes perfect. As you gain more experience with the Wizmaker laser engraver, you'll be able to experiment with different designs and techniques to create truly unique glass engravings.
Explore the possibilities of glass engraving with Wizmaker and elevate your creativity to new heights. Happy engraving!

